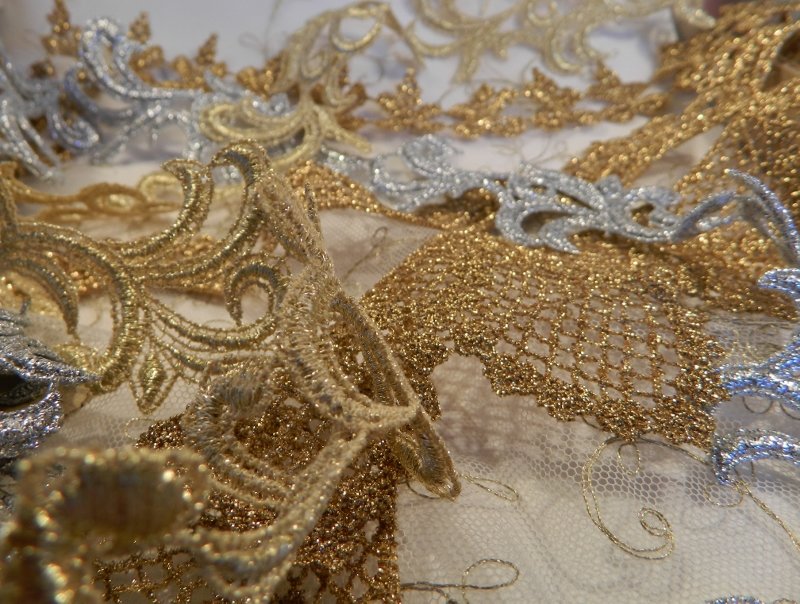

Metallic Gold Filigree Trim
Gorgeous new metallic trims just arrived from Japan and Korea.
Very unusual trims, Bronze, Pale Gold scrolls, Gold scallops and Silver.
Ideal for Tutu skirt embellishment and Bodice decoration.
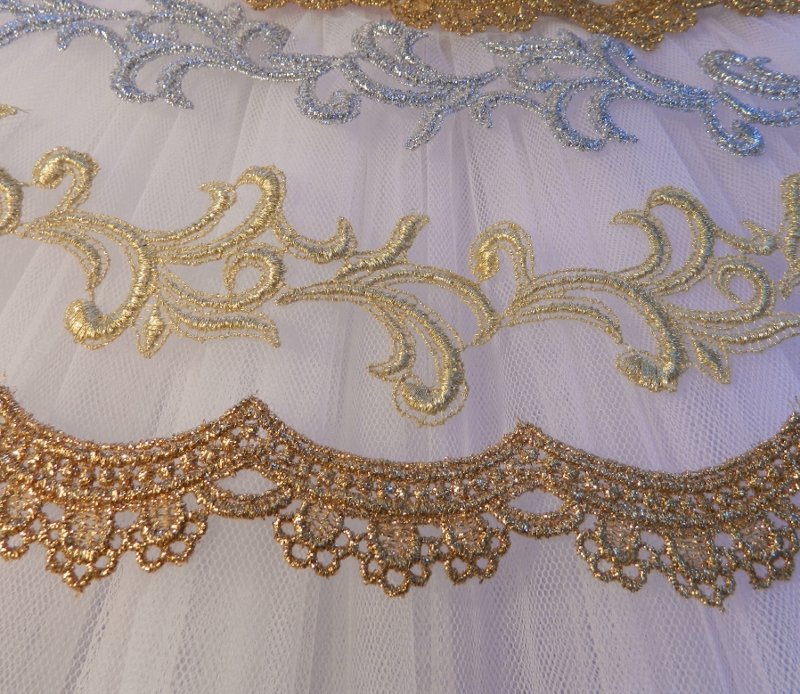
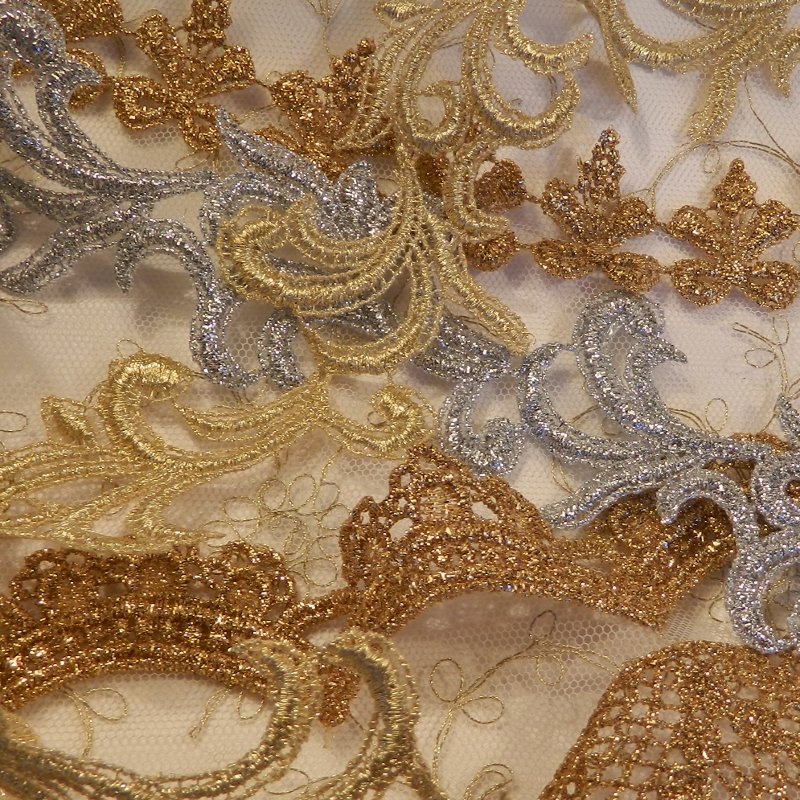
Metallic Gold Scallop, Pale Gold and Silver scrolls
They range from 20 mm wide up to about 80 mm.
The Metallic embroidery has a nice weight to it.
The scrolls in Silver and Pale Gold are lighter and more delicate looking.
These will be in the Shop section under Appliques and Trims, then Gold and Silver Trims.
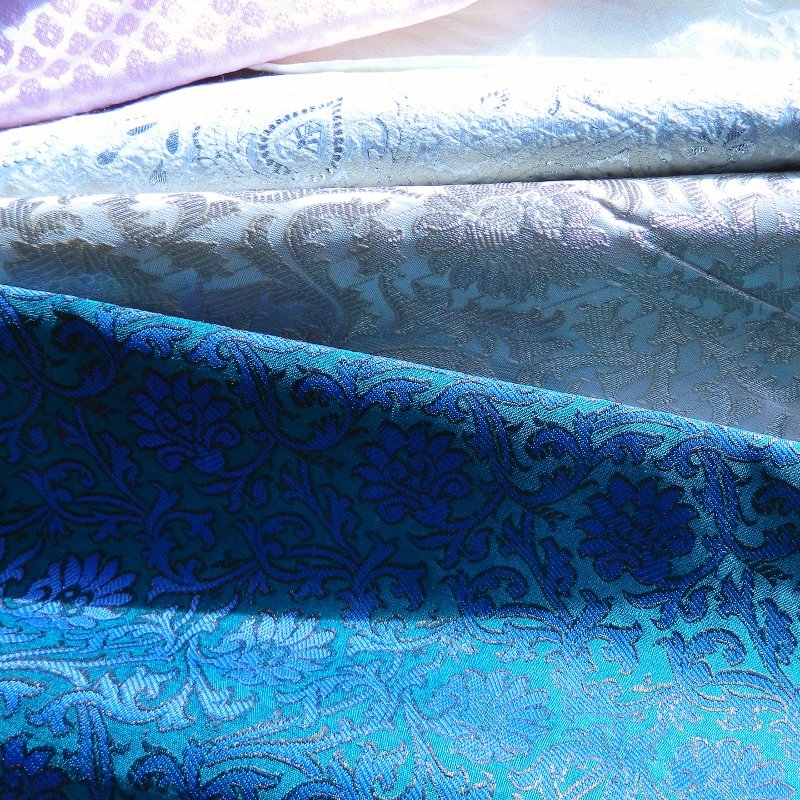

Lovely Silk Brocades
I ordered a few metres of each of these Brocade fabrics to see what they are like and they are beautiful.
Most are Silks and combinations of Silks. More details when I put them up in the shop.
Have a look and see what you think.

Silk light Brocade
I can already imagine Men’s jackets and Tutu Bodices from most of them.
So exciting to get unusual fabrics and very keen to get more from this Supplier.
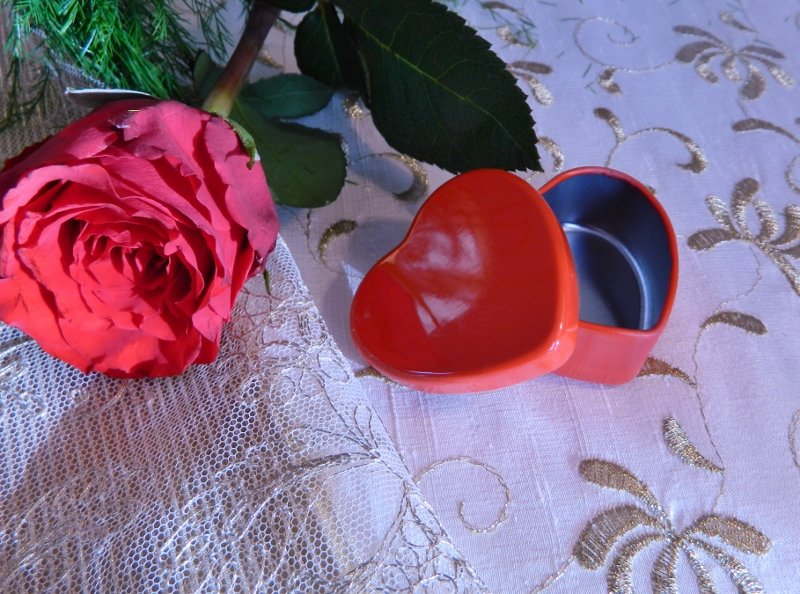
I found these Tiny red heart shaped tins which made me think of Valentine’s Day.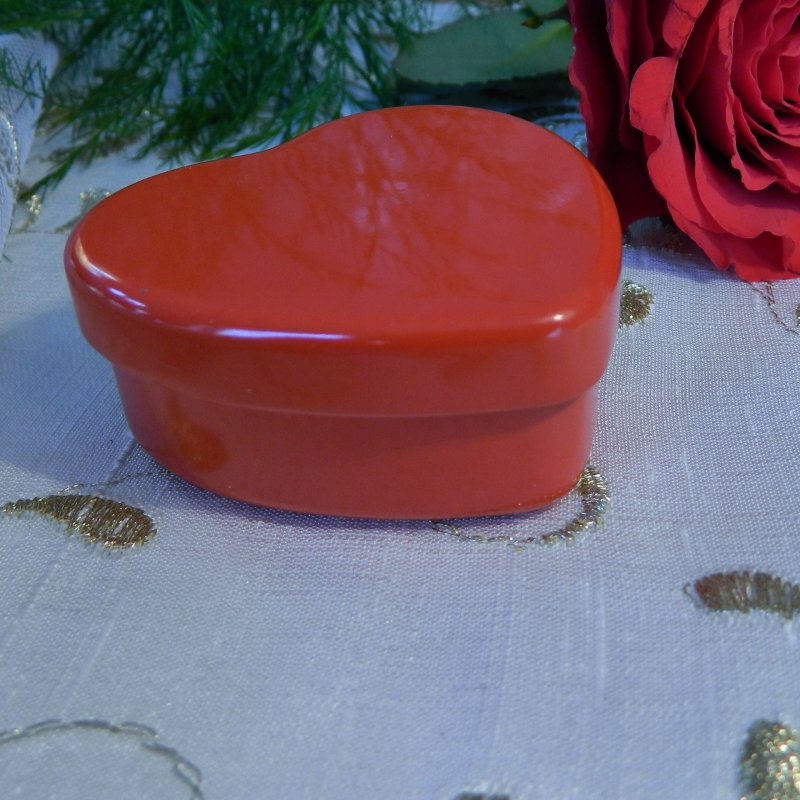
They are seamless and have a separate lid. It is not hinged.
They measure 5 cm wide by 4.5 cm length by 2 cm deep.
Volume is 20 ml.
They can be bought on their own (empty) for £1.29 each or filled with Hooks and Bars or Safety pins etc.
These can be found on the Product pages under Fastenings,
or just email me to exchange the Silver tins with the Red tins on purchasing your products.
Made in the U.K.
 Valorose Tutus and Textiles